

All of your website or project files and documents, such as imagery, PDFs, and other file types will be uploaded and stored in the Media tab. How you choose to display them on your site or embed into content will depend on your templates.
Organising your Media into Folders
How you organise your Media tab is up to you. In general it is good practise to have your websites files organised into folders, based on their type or use or whatever makes sense for your organisation and those who will be maintaining the site.
Having a folder structure that clearly outlines where a file should be uploaded and found, will help other content editors and users use the correct files on templates, banners, thumbnails, or when embedding into a page of content.
Creating a Media Folder
To Create an item under Media, such as a folder, click on the three dots next to the Media header that is above the left side navigation and select Create > Folder.
For example, your Media folder structure could look like this:
The dimensions are only an example of including extra information in the folder title, such as your template manual recommended image dimensions - the folders or the titles don't have any bearing on the output of the images or your templates.
- Photo Imagery (jpg or jpeg)
- Background Hero Images (1920x500px).
- General Content Images (900px wide).
- What We Do
- Who We Are
- Our Solutions
- Contact Us
- Staff Thumbnail Images (200x200px).
- Event Images (500x300px).
- Test/Draft Images
- Icons and Graphics (png or svg)
- Logo (200x100px)
- Colour Versions
- White Versions
- Icons
- Social Media
- Arrows
- Infographics
- Other Graphics
- Logo (200x100px)
- PDFs
- Council Services
- Planning
- Housing
- Roads
- Annual Reports
- Minutes
- Council Services
- Video Files
- Background Video Files (mp4)
- Content Video Files (mp4)
- Audio Files
Uploading a File
There are multiple ways to upload files to the Media tab.
- Drag and Drop into a Folder
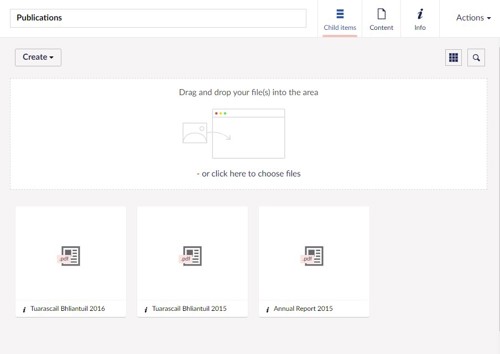
- When you select a folder you can view all of the files in that folder.
- You can also drag and drop new files onto that screen.
Note: You can also drag and drop entire folders of images into Umbraco! The name of the file will become the file title. It even works with nested folders!
- Manually create a file
- When you right click on a folder and select Create, you can see each different type of file you wish to create an instance of.
- When you select a file type you will then be able to upload the file and give it a Name.
- The details of the file can display on screen after the upload is successful.
- Upload when selecting a file to embed
- When you are on the Content tab and the Content section of a page you can embed files such as imagery.
- When you select embed image it will allow you to select which already uploaded file you wish or you can also browser and upload a file from that screen.